About Us
About Us
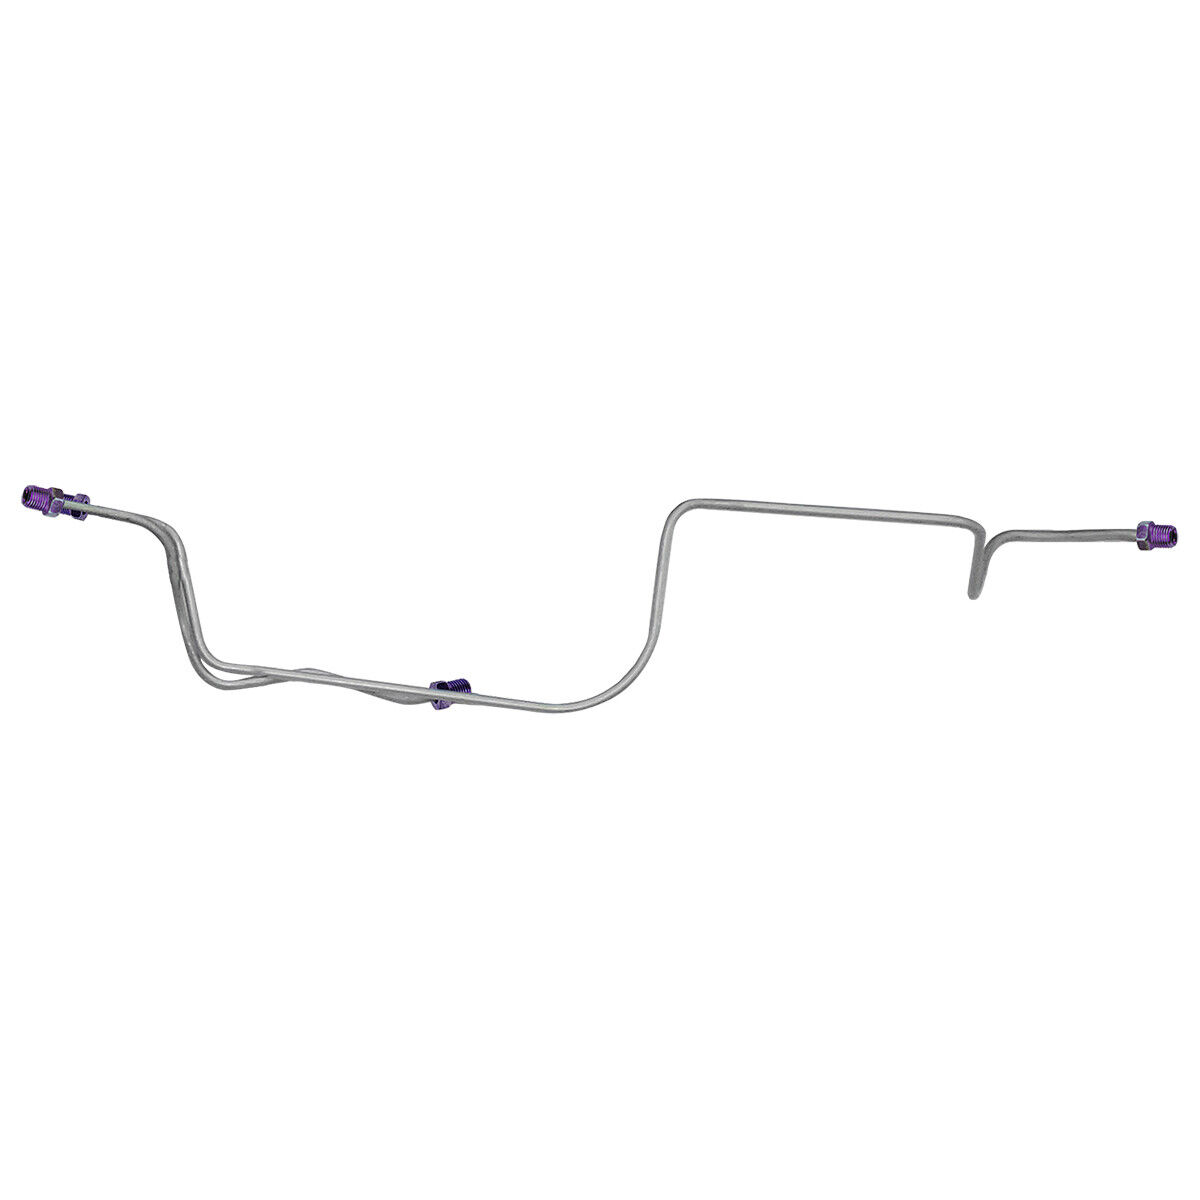
Inline Tube offers a variety of products for all classic cars and trucks ranging from preformed brake lines, fuel lines, transmission lines, and straight length tubing sets, for custom applications and the street rod enthusiast. Our exclusive products include: stainless steel and OEM parking brake cables, brake line and fuel line clips, stainless and OEM brake flex hoses, proportioning valves, disc brake conversions, rear drum kits, exhaust and many other under body products.
All of our preformed lines ship complete with correct factory bends, exact factory fittings and 45 degree double flared ends. These lines also have correct size wire spring wrap or cloth wrap where used on the original line. Complete and ready to bolt them into place.
Countless hours and immense research has been spent to ensure that the product is 100% authentic in appearance, application and fit. Inline Tube manufactures all its own preformed lines, fittings, hoses and clamps to ensure the high quality of our product.
With over 14,000 tubes in our current inventory, Inline Tube is the industry leader in computer precision preformed brake and fuel lines. We are located in the heart of "Motor City" Detroit where automobiles are not just transportation, but a way of life!
Our staff consists of highly trained sales personal, technical service representatives and mechanical engineers to ensure your receive the best service, the correct information and the highest quality parts on the market. Inline Tube bends over one million feet of tube, using 350,000 tube nuts and 100,000 feet of spring wrap each year. We are the Brake Plumbing Experts.
Payment
Inline Tube Payment Terms
Payment
Inline Tube accepts Paypal and all major credit cards including VISA, MASTER CARD, AMERICAN EXPRESS, and DISCOVER. Payment is required at the time of sale via But It Now or end of auction.
Sales Tax
Orders outside the state of Michigan are not required to pay sales tax. All orders placed in the state of Michigan, add 6% sales tax to your total order amount.
Shipping
Inline Tube Shipping Information
Shipments within the Continental USA
Most of our products ship via FedEx Ground or USPS, but we also utilize other convenient and cost effective shipping services. All orders are shipped within 24 to 48 hours of receipt. States close to Michigan usually receive shipments within a few days, west coast orders can take up to 5 days.
Hawaii and Alaska Orders
All Canada, Hawaii and Alaska orders will be shipped by postal carrier. The cost of shipping to Canada must be determined after the order is initially placed. An invoice will be sent to you with the corresponding shipping rate. In the event that an invoice for shipping charges is not received, please message us via the seller link to get your rate.
International Shipments
All international orders are handled via eBay's Global Shipping Program. International shipments can at times take several weeks to get throught customs so please keep this in consideration.
Express Shipping
Inline Tube does not offer any form of express shipping.
Returns
Inline Tube Return Policy
Returns & Refunds
Inline Tube stock items may be returned within thirty (30) days from the purchase date. All returns are subject to a 20% restocking charge. Shipped costs must be prepaid and merchandise must be in resalable condition (see below). Returned items must be in new/unused/resalable condition and must be accompanied by a copy of the ebay order or full legal name of seller, eBay user ID and email address for us to process any claim. No returns will be accepted after 30 days from the purchase date. No returns will be accepted for any portion of a complete set.
We do not provide call tag service for parts pickup. The customer will pay freight on all return orders. Mailbox stores charge service and packing fees that are not refundable by Inline Tube.
Resalable Condition
All returned goods are to be in resalable condition. This means we will not accept a part used on a car, greasy, damaged, bent or without the original box. Resalable means in the same condition as you received it in.
Damaged Packages - Shipping
Report damaged packages immediately by sending a message through the seller link. Please include pictures of the damaged product AND package in your message. Damages MUST be reported WITHIN 48 HOURS of receipt of the order.
Shortages or Incorrect Orders
If there is a mistake on your order, contact us immediately via message though the seller link and we will make arrangements for the exchange of the correct items. Count and confirm all items in sealed bags BEFORE opening that bag. Shortages or other issues must be reported WITHIN 48 HOURS of receipt of the order.
Terms
Inline Tube Terms & Conditions
Limited Warranties
Inline Tube warrants that goods sold by it shall be free from defects in material and workmanship, and shall conform to all applicable specifications and drawings. Inline Tube liability, whether based on breach of warranty of contract or negligence in manufacturing, shall by limited to replacement or repair (at Inline Tube inspection) of the defective or nonconforming goods, or (at Inline Tube's election) refund of the purchase price. This warranty shall apply, and Inline Tube shall be liable for replacement, repair, or refund, only if the buyer has given Inline Tube written notice of the defect or nonconformity within 30 days after the delivery of goods to buyer. Inline Tube assumes no liability over the results of the use of any goods purchased from Inline Tube including, without limitation, their use in combination with other components, assemblies or products, or their suitability for a particular environment. The foregoing constitutes the sole and exclusive warranty of Inline Tube and the sole and exclusive remedy of the buyer, and is in lieu of all other warranties, expressed or implied, as to merchantability, fitness for the purpose sold, description, quality, or any other matter. Without limiting the foregoing, Inline Tube shall in no way be liable for loss of use or profit, or for other collateral, special or consequential damages. Any warranty given by any other manufacturer or supplier of goods sold or of component parts thereof is assigned by Inline Tube to the buyer to the extent permissible under law and terms of such warranty.
Copyright Information
All content on Inline Tube's storefront designs and listing pages are copyrighted. No part of this strefront or the listings contained within may be reproduced including text, pictures or layout without written permission from Inline Tube. All rights reserved.
Privacy Policy
At Inline Tube, it is important to us to protect the privacy of your personal information. Whether you are a current customer, a returning customer or just visiting our website for the first time, we are committed to protecting the information you provide to us over the phone, in person, over the internet, or through the mail. Inline Tube does not share or profit from any of your personal data.
